Tuesday, 8 March 2016

A Magic Card

My title for today may be a little over ambitious, but really, that's what it's called according to the crafty world.  

This is another card I had sooooo much trouble making.  I found it very hard to find an image to use for this card, and then I remembered it was Easter shortly, so chose the little bird/chicken from the Sale-a-bration set, Honeycomb Happiness.  


The outside of the card looks a little .... plain, but when you pull up the tab ...
 
  
That's where the magic part comes from.  The plain little uncoloured image suddenly, like magic, becomes coloured.  Oooh!   


This one's my second attempt.  I decided to try a baby congratulation card.  
 

 You can't see it real well , but I have shaded a starburst of pink behind my hippo to "colour" the front panel a little more.  


And here's another different one from one of the ladies on Saturday.   


We all did this card together on Saturday, and it took the longest time, even with everything cut out.  Not an easy card to make, but at least now they have have accomplished making a "magic card".  If you want to have an attempt at making your own, my suggestion would be to google it and watch one of the many tutorials available.   

Thursday, 3 March 2016

A numbered birthday

This is another one from our class on Saturday. This time there was no colour choice (Bermuda Bay), just a choice of which way they would prefer to make the card up and what numbers they would like to choose.  They could use either a beautiful scalloped border or no border and use the 3 corner punch. 

And unlike my indecision as to whether to buy Botanical Blooms bundle, this time it was a no-brainer and I HAD to have the bundle.  I just love those lovely big numbers, not that I choose to use them often on cards, only extra-special birthdays.  Let's face it, no-one likes to be reminded of their age!  


Tuesday, 1 March 2016

Botanical Blooms

I had a group of ladies here on the weekend for a couple of hours of cardmaking, and this is one of the cards we made.  


I spent ages on this card in preparation, trying out different colour schemes, and in the end went with something quite neutral to show off the flowers.  Crumb Cake is my go to colour when I can't decide, and black and white with a pop of colour always works.  In this case, they have been combined with Calypso Coral. I did give everyone the option of chosing their own colours, but most chose to use these colours.  Once again, I meant to photograph their cards, but didn't remember till all but one was left.  So, here's her different version.


This one was made with Old Olive leaves, Eggplant and Wisteria flowers.  I love these colours too. 

I debated about whether I really needed to buy the Botanical Blooms Bundle from Stampin' Up's latest catalogue which came with the framelits, stamp set and paper pack, and in the end just went with the framelits.  At this stage, I don't regret my decision.  I guess time will tell whether that changes. 


Thursday, 25 February 2016

My happy card - Blue Denim

Anyone who knows me, knows that I love my denim jeans.  I could wear them almost everywhere.  Actually I do, work, going out, home, gardening, I have a pair of jeans for almost everything.  There was talk years ago that I would actually have a pair of jeans on under my wedding dress.  I did actually think about it just to make them feel better.  So my card today makes me feel happy, and also quite pleased with how it turned out.  

I was asked to make a birthday card for a 10 year old girl.  She is not a girly girl, doesn't really like cutesy animals or butterflies but is quite sporty.  As no-one in my family is particularly sporty, in fact sporty at all (apart from sports with engines), I didn't have any stamps suitable for her card.  Then I saw on Pinterest a card made with a photograph of denim material, and the idea just went from there.  

I used Night of Navy cardstock which was lightly sanded first and then  sponged/smeared with white ink to give it the stonewashed/aged look.  Next I cut out a pocket shape and with a yellow gel pen I drew all the stitching lines around the pocket and hip edge.  Added some ribbon for a belt, with pieces of cardstock over the top to represent the belt holes, added some brads to the pocket and a label on the side of the pocket just like my jeans.  I debated about whether to make a tag that sits in the pocket, but maybe the person giving the card could pop in a gift voucher or $5 note as part of the present.  


If this card were given to me I know I would love it, so I hope my 10 year old does too.     

Tuesday, 23 February 2016

Pleated Skirt Fold

If you're a regular visitor to my blog (I hope there are more than my family that look), you may have seen a card in my last post made by my friend.  It was the Rich Razzleberry card with the lovely pleated paper on the right side of the card.  The idea was sent to us by a website we both are part of, and of course I had to have a try too.  

Unfortunately the measurements came from an  American website where all the were for A2 sized cards, and also I wanted the folds across the whole of my card rather than just the bottom half, so I had a play around with some scrap paper  and came up with a few measurements that worked for me.  This style works best with double sided patterned paper, and as I couldn't find anything suitable I just used single sided paper but then I added a line of washi tape in a contrast colour to the bottom of the diagonal on the reverse.  Sometimes I amaze myself!  

So here's my version with four folds.  The paper isn't as pretty as my friends, but the contrast shows up quite well.  


Want to give it a try yourself?   I cut a strip of DSP that was 10 x 30 cms.  That's the size of most 12 x 12 papers, so you can get three strips from each sheet.  Now we convert to non-metric, because that's what my scoring board is in.  Starting on the left side, score at 3 inches, 3¾, 5¼, 6, 7½, 8¼, 9¾ and 10½.  Then cut a diagonal line from the bottom of the 3 inch score line to about 1½ on the top right.  Then it's just a matter of "pleating" on the score lines.  Remember - the first fold on the 3 inch line gets folded over right sides together (I think that's a valley fold).  You will probably need to cut a small strip off either end to make if sit on an A5 card front with borders around all edges like mine.  

I hope you give this type of card a try (and that my instructions make sense) - it's such a pretty way of adding DSP to a card.   


Thursday, 18 February 2016

A joint effort

I had a lovely day earlier in the week with a friend coming for a visit and us spending the morning making cards together.  It's great having someone to swaps stamp sets with and share ideas.  
These are the cards that she made while here.  The first and last card are from a tutorial on Splitcoast for the Pleated Skirt Fold using beautiful papers to achieve the pleat part. I plan to give this a go one day, just have to find some papers that will work for me.  

I got to have a play with her Balloon Celebration set from the latest Occasions Catalogue.  This is a set that's been on my wish list since January.  It also comes with a punch which makes it so much easier and quicker to create.  The hard part though is working out which colours to use to achieve the contrast.  For the purple version I used Wisteria Wonder and Elegant Eggplant, and then Pink Pirouette and Regal Rose and Pool Party and Bermuda Bay for the second card.  The balloons in the purple version were sprayed with Shimmer Mist and have a beautiful sparkly effect.  She left the set with me, so stay tuned for more  colour variations.


Tuesday, 16 February 2016

A little cupcake

Just a quick visit today because I forgot to take photos of cards made lately.  I made this card to add to my stash of "when I need them" cards.   This is one of those that could be used for a few different occasions; birthday, baby or just because.  

I love the look of pin pricking around the edges, and it's so easy to do - especially if you have a template to help you out.  Luckily, I do!

My card is made using Pink Pirouette, not a colour I reach for often, but I was quite happy with the finished product.  


Thursday, 11 February 2016

Flowering Fields - part 2

An original card.... designed by me!!  Yes that is a little rare lately.  I just seem to do my version of a card seen on Pinterest, so I am a little happy with my card below.  

As I said in my last post, I thought there was a little too much blank space on the cards, so I solved that problem by using a smaller card.  Genius!  I have used one the Note Cards from Stampin' Up, the perfect size for attaching to a gift or bunch of flowers.  (Size 12.7 x 8.9 cm).  

This card is actually one we will be doing at our next card day towards the end of the month.  A sneak peek if any of them are looking.  Now to figure out the other things we will do.  


Tuesday, 9 February 2016

Flowering Fields

Have you seen the Sale-a-bration catalogue yet?  I haven't put it up on my blog's sidebar yet because I can't remember how to do it, but you can find it on the Stampin' Up website if you like.  DD has shown me several times in the past, and even written instructions down for me, so she just keeps telling me to work it out myself.  I did try, but obviously I stuffed up somewhere.  Anyway, there are some great products available in the catalogue for purchases over $90.00 which, let's face it, isn't hard to reach at all.  

When I first saw the catalogue, one of the things I wanted to get was the Flowering Fields stamps, and judging by the number of cards on the internet, I'm not the only one.  When I was looking for inspiration for different ways to use these flowers I saw a set of beautiful cards made by Vicki and loved them so much I had to make my own.  

Vicki's cards had another sentiment stamped on the top right, but I didn't have anything suitable to add there.  I think it looks a little bare, but not sure how to fix it.  

All the flowers have been stamped in black Memento and then coloured with a blender pen.  My favourite is the red waratah.  Yours? 


Thursday, 4 February 2016

Shaker 85th

Well I have a little more motivation now as there is a run of birthdays in February I must have cards for.  

First up is an 85th and I thought I would do a shaker card with numbers.  Probably for someone a little younger I would have used brighter colours, but the muted colour scheme, in my mind, suits a more mature person.  


There's actually something quite calming about watching glitter flow around the numbers when you turn it.  Like sand through an hourglass - I could watch it for .... a couple of minutes.  


Tuesday, 2 February 2016

By the Tide birthday

Well, I'm starting to get back into making cards.  I haven't done lots, but I have started, which is a good thing as I have a class coming up at the end of the month I have to organise.  

I started with something relatively easy that I didn't have to think too much about, and what could be easier than squares cut with dies.  Each square has part of an image from one of my favourite sets, By the Tide, stamped in Memento Black, and then sponged with various shades of blue inks.  I tried to add a little nautical knot tying into my card to complete the look.  


Thursday, 28 January 2016

Die cut join

These are the other two cards that I have been able to make lately.  Three cards over three weeks.  Not bad huh!  Pathetic really. 

Here's another use for those die cut words I have.  This time the die cut joins the two halves together in the curve line.  


Apologies for the flare in the photo, but both the cardstock and the patterned paper are shimmery, so it's really hard to photograph without the flare.  When I was cleaning out my craft cupboard I found a couple of sheets of this frangipani paper which needed to be used, and this is how they turned out.  

Hopefully I'll be a little more productive next week. 


Tuesday, 26 January 2016

Birthday card - Hidden Die Cut

Well I still haven't really been inspired to create many cards lately.  I'm not sure why that it, but I wish it would go away.  I sit in my room with goods all around me, and then think that I'll just check out some ideas on Pinterest first, and then I just walk away without having done anything productive.  I did HAVE to make a birthday card for a friend recently, so after flicking through a craft magazine I saw this idea and decided to have a go at it. 

They called the technique Hidden Die Cut, and if you look at the photos taken on the side angle you will see why. 


Firstly, you just make the card front up the normal way, stamping or embossing or whatever you like, and then you die cut a word or shape out of the front panel, and also a couple more out of spare cardstock.  I did four extra layers, but I guess it depends of how high you want the greeting to stand out.  Then you glue all the layers together (this is quite tricky when the shapes are thin like this as you don't want the glue to ooze out), making sure that the front panel die cut is last on top.  Then obviously you stick these down in the cut out shape.  If you use letters with insides in them like all of the ones about, it looks so much better if you glue these down inside the letters as well.  It's a pain to do, but worth it in the end. 


Fleurieu Coast Australia Day

Thursday, 21 January 2016

Punch storage

When questioned by my husband what I wanted for Christmas, I asked if he could made me some storage for my punches.  We discussed what I wanted, he went off on his own tangent, and then I bought him back to reality.  We stamping girls know what we need and want.  So, off to Bunnings to buy timber.  It's just made of MDF sheets, so didn't cost too much.  But then, we need a work bench to make the cuts perfect, which came with a saw and then .....  Trips to Bunnings never end up well.  

So here is the storage for my punches.  It has 50 slots and the bottom row spaces we made larger to hold the old whale style punches.  I thought about having him make the dividers smaller at the top for the smaller punches, but decided if I need more room I can just double them up.   It's all painted in black and then varnished in clear gloss except for the front panels and dividers.  The kids think it all needs painting, but I like the exposed bits - it looks kind of vintagey and old worldly.  


Does everyone store their punches lying flat like this?  Have a look at the photo below.  I wonder why Stampin' Up print their sizes this direction which ends up being upside down.  I thought about removing the stickers and putting them the right way, but decided not to worry.   
 

Hubbie also asked if I wanted shelves like this to store my ink pads.  I'm trying to decide.  I love my SU Color Caddy, but I'm running out of room.  Guess I'll just have to wait and see what the new in colours are like and whether I need them. 

Tuesday, 19 January 2016

Happy New Year

Happy 2016 to you.  Thank you for coming back for a look at my blog.  I hope to be a little more reliable this year, but who knows?  

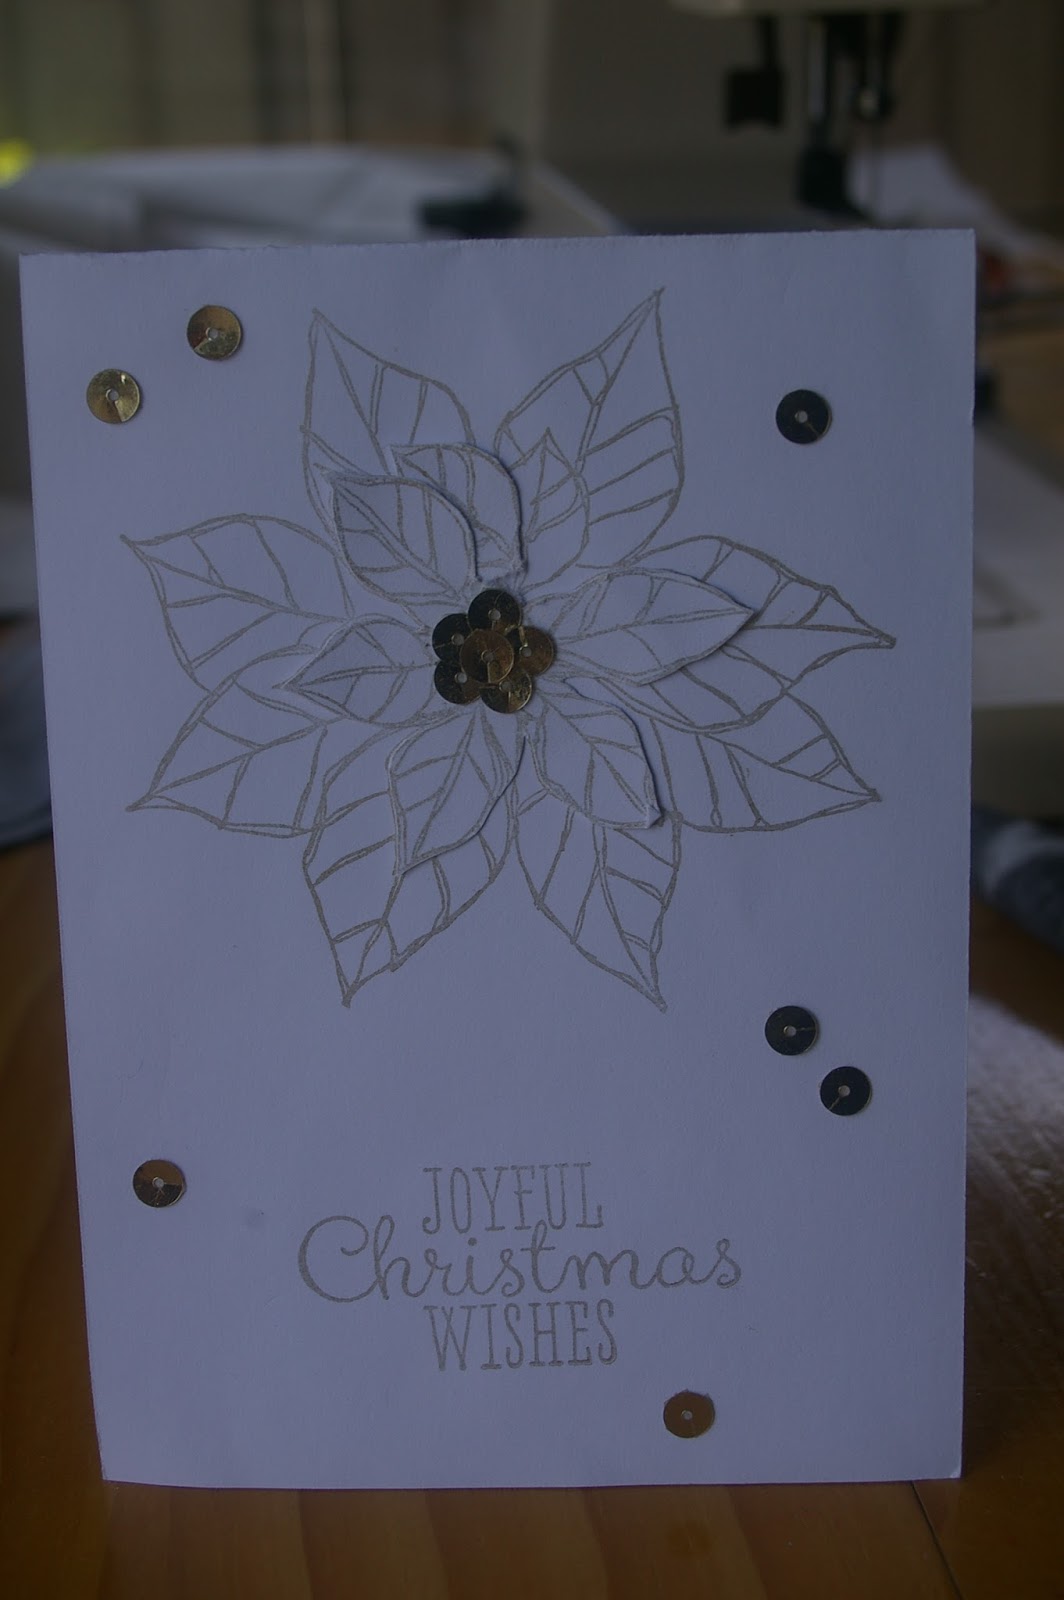
I thought I would first rehash a little Christmas for you with my card and also the cards received from friends. 


First up is the card I sent out.  Once again I was under a bit of pressure to get it done and sent off, so wasn't my best effort.  The embossing folder is a PortaCraft bought in a "junk" shop for $4.00.  Seriously, how come everyone else charges so much when they can be sold for this price?  I just don't understand it.  Anyway, I really love this design and also the fact that it has a border around it as well.  All the rest is purely Stampin' Up.  The trees are from Lovely as a Tree set and the sleigh is from Holiday Home.  Although it's not obvious in the photo, the circle (or Christmas bauble as it's supposed to be) has been sprayed with Champagne Mist so it is all sparkly and pretty.  

Here are a few of the cards we received - in no particular order, just the way they were photographed. 


No, we didn't copy, but this one is similar to mine.

This card isn't actually handmade but done by a laser cutter, but still it's beautiful. 


 So, once again a beautiful selection of cards from friends and family.  Clever bunch, aren't they?