Showing posts with label Stamp Set - Baroque Motifs. Show all posts

Thursday, 15 October 2015

Wedding Cards Part 2

I should have actually put this card up first as it was the first one I made.  I now think it looks a little .... ?simple/plain compared to some of the others, but will see whether my customer likes it or not.  

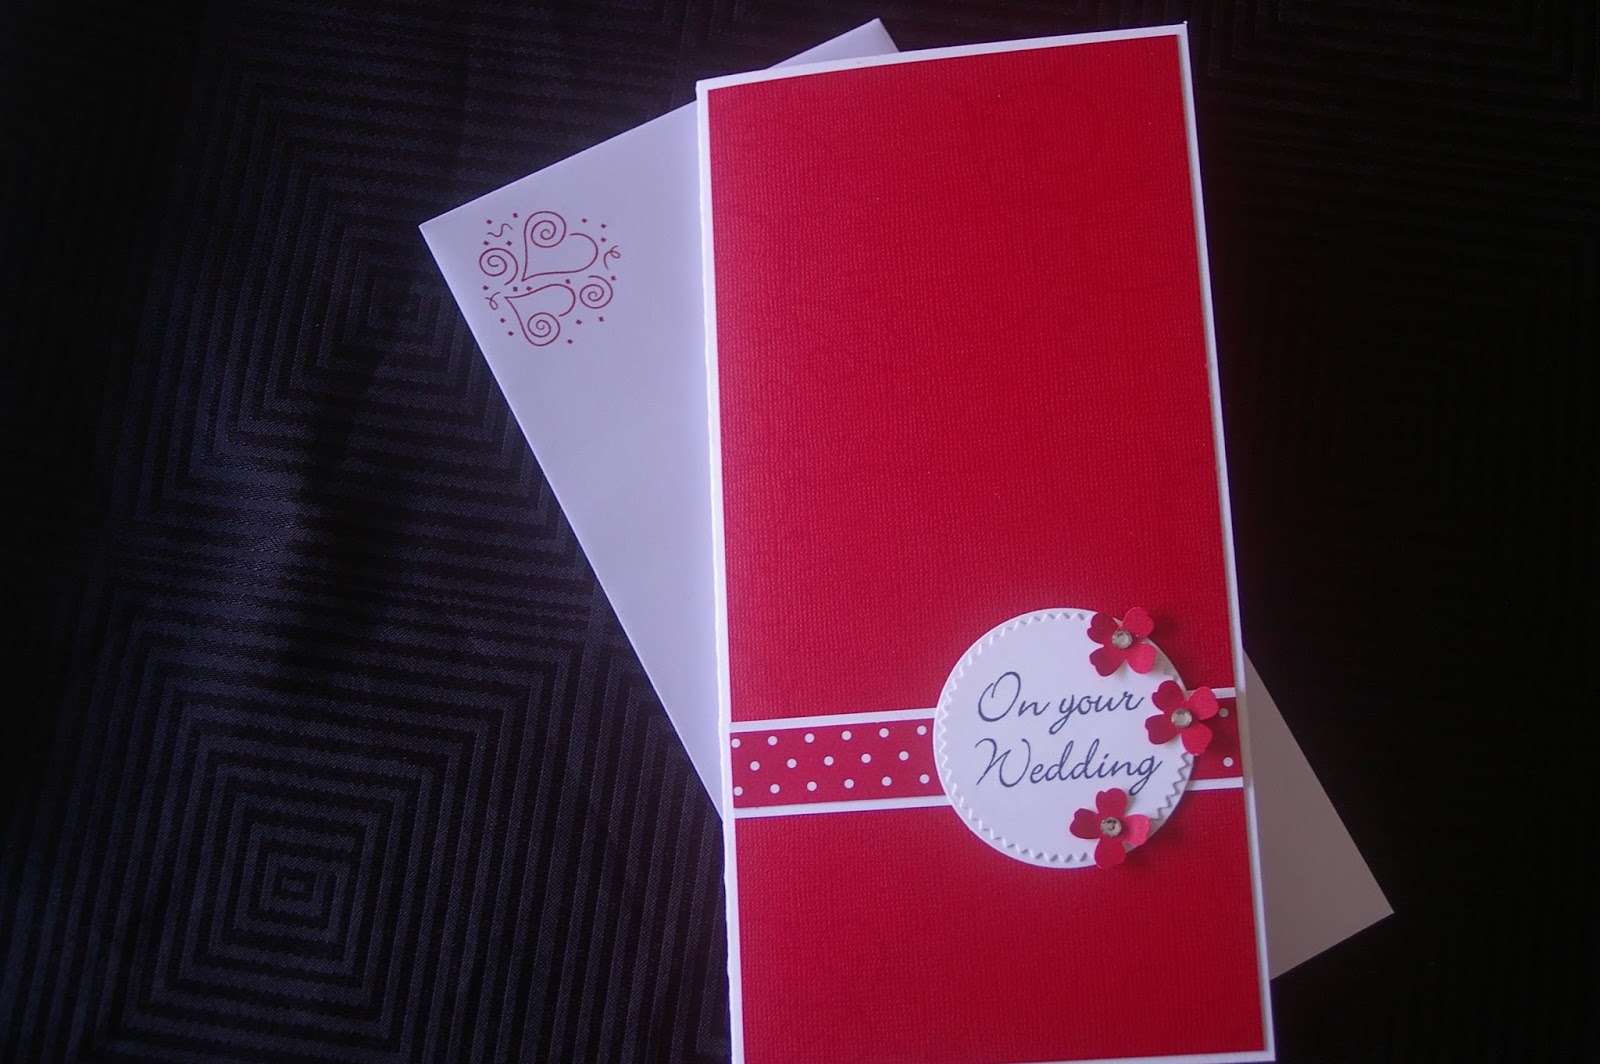
This is done in Real Red with some DSP for a border and the Starburst framelits die.  The background is stamped using Baroque Motifs in VersaMark for a bit of interest on the red, but it doesn't really show up in the photo.  I found another old stamp for the sentiment, having to delete the word "Day" cause they may actually get the card before or after the wedding, and I like things to be correct if I can.  Added a few flowers and some bling to finish it off.  


My next card is another one I am not quite sure about.  This one is made using Pool Party and is loosely based on this one here from Sabrina.  After I had scored the front panel and matted it on white it then took ages to find the "right" ribbon.  It still looked a little overwhelmed on the front of the card, so I went hunting for something else to add and found this little flower that I thought did the job.   


Still a few more to come.

Tuesday, 13 October 2015

A week of weddings

Well, not really.  But it just sounded quite good.  But you will be subjected to wedding cards for a few weeks.  

I had a lady ask me to make her a couple of wedding cards this week, so over the weekend I concentrated on a few different designs so she would have a choice.  She asked for two cards, with a colour choice of purple and red - a little out of my comfort zone for weddings.  However, ...

This is my warm up card.  It's actually done in Soft Sky as I quite like pastels for wedding cards.  It uses my old favourite Baroque Motifs stamped in Soft Sky and sponged around the edges.  The Congratulations is done with a Hero Arts stamp, another old favourite.  There are some things I just can't give away.  Back to the card, it has lots of layers on the front, black, white and top Soft Sky.  I pin pricked around the edges and also gave them a sponge.  Add some seam binding ribbon (I love this ribbon - it's so easy to tie bows) and the sentiment, and then to the inside.  


Now as the card was already a few layers thick, I just used one layer inside, but drew around the edges with a black texta for the illusion of a black layer underneath.   Was hoping the whole time I was doing this that I didn't slip and have to start again.  Fortunately, no slips.   Even the envelope got a bit of stamping.  
 

Now back to purple, or Elegant Eggplant to be exact.  Once again, a few layers on here.  Doesn't really show, but the first layer was shiny silver cardstock followed by a white layer stamped with that beautiful flourish from Everything Eleanor and then the greeting from Big News (another retired set that gets a workout around here), embossed in silver.     


And the inside, once again embossed in silver with another Eggplant  flower attached. 
 

 More to come ....


Thursday, 30 October 2014

Magazine file cards

As promised, I have a few cards to show that I made to pop in the magazine file that I made for a friend.  

I was really happy with these first two.  They actually look so much better in real life rather than in these photos.  I have stamped the flourish from Baroque Motifs on here and then heat embossed in white, and then sponged over the corner with Pool Party to show off the flourish a little more.  There are two layers of Flower Shop flowers and then one of the stamps from Everything Eleanor was stamped behind.  A handmade button and string added and then a sentiment.


And this one uses the images from Postage Due stamped on Smoky Slate and heat embossed with white powder again, add some ribbon and a few "stamps" on top.  I really love this one - it's just a shame the image isn't a little bigger to cover the whole card.  But then I guess I would say it was too big.  


And last one for today, with Grunge Rock, probably something similar to what's already been seen on here, this time using Indigo Island cardstock. 


Another favourite to come.  Actually looking at all the cards I made, they are nearly all made with retired sets.  There are some sets I just can't part with. 

Friday, 1 February 2013

Cards of Christmas Past 3

Last two Christmas cards to show you.  I still like both of these ones, but obviously I would do a few things different if I made them again. 

This was the first Stampin' Up set I ever bought - Crazy for Christmas, must have been back in 2008.  I remember I threw out a lot of cardstock cause I couldn't line the stamp up properly - obviously before I bought a stamp positioner.  Lots of colouring in here with a water pen and gel pen.  


This one uses Baroque Motifs, a set I have kept despite it being retired.  I just love the swirls.  I remember cutting out all those little blue flowers (madness!) to glue on and tracing the shape for the tag punch cause I didn't own it at that stage. 


Well that's all we have been able to find so far.  Maybe another couple will turn up soon after another clean out.  Hope you have enjoyed seeing them.  It's interesting looking back at how styles, techniques and tools have improved over the years.  Check out a few of your old cards too and see what you think.  

Friday, 10 August 2012

Goodbye to an old faithful

Baroque Motifs was one of the first sets I bought from SU.  I love the flourish, there's just something about those curves.  Very elegant and graceful, not like me.  I have used this set many times on male and female birthdays, sympathy and Christmas cards.  I am sad that it will be retiring at the end of August, but there are some great things to come.  My catalogues arrived yesterday and I have spent (wasted) many hours pondering over what I need, want and desire when September arrives.  


Wednesday, 8 August 2012

Have you ever ..

Have you ever looked in a craft magazine and liked a layout or design so much you needed to copy it?  I do it all the time.  In my case it is usually a card and I generally get stumped because I don't have the same supplies that have been used in the original.  That was the case with this one.  


It was an ad in Cardmaking Stamping and Papercraft for Alisa Tilsner, a SU demonstrator from ?Perth.  I liked the layout but didn't have the stamp set, Established Elegance.  

So this is my final result.  I still like hers much better so will keep working on it.  I have used Fresh Vintage, Baroque Motifs and the flourish is part of the Elegant Bouquet Embossing Folder.


Wednesday, 18 July 2012

A little late, but ...

I am a little late today putting this up, but I ran out of time (and photos) on the weekend.  We had a busy weekend with the group/class here on Saturday and then a 3rd birthday on Sunday, so apologies.

This is another card made on Saturday.  


The swirl from Baroque Motifs has been stamped in Crumb Cake ink on Very Vanilla cardstock.  The rose is from a retired set "A rose is a rose" using two step stamping and I have stamped the shadow part first onto a piece of scrap paper to remove most of the ink, and then onto the rose using the stamp-a-ma-jig.  If you don't know the Stampin' Up products, then a lot of this will be goobledegook to you.  And if that's the case, you need to come here for some lessons!  
 

The paper on the bottom of the card is DSP which has been folded to form a pleat.  A bit of measuring at first, and then it's quite easy to do. I took pity on the ladies coming and had it all pre-scored for them, so all they had to do was fold.  Their pleats were spaced a little wider than mine to show them up more.   Add a Soft Suede scalloped border and a little Vanilla seam binding and it's done. 

I have my favourite one to show you on Friday.  Wonder if it will be your favourite? 

Saturday, 17 March 2012

Tri-fold Cards


I first saw one of these cards on Splitcoaststampers and then found the measurements and instructions on Marelle Taylor's website.   The trickiest part to the card is cutting out all the papers, making sure that the boxes are straight and even - I still haven't quite perfected that part yet - and the fun part is decorating.  Once again the owl punch is perfect for this type of card.  A lot of time to make, but well worth the effort.  The hardest part is giving them away.  The last card is one of the four that I sent in to the magazine.