Not craft related, but this is what we got up to on the weekend. Our back fence needs replacing but before we can get that done we need to re-do our retaining wall. So, all our beautiful roses and gardenias have had to come out - hopefully they will survive their temporary placement until they can be re-planted. We hired a digger to remove the dirt, thank goodness, but still, by the end of Sunday there were four very tired members of our family. This is as much as we managed to do this weekend, hopefully we can finish it next weekend. Today everyone is really feeling their efforts in backs, arms and legs - it even hurts to type. But as you can see from the photo, Maxx is having a lovely time playing in the dirt.
Tuesday, 17 March 2015
Thursday, 12 March 2015
Inking Embossing Folders
What do you think of this background? I was doing my usual checking out on Pinterest the other day when I saw a card made using this technique, so thought I would have a try myself. I have used this technique before, but was just reminded how lovely it can look. All you need to do is wipe your inkpad over the flatter side of an embossing folder, pop in your cardstock and run it through your Big Shot machine. It doesn't really matter which side of the embossing folder you ink up, but each side will give a different effect.
I think a little tweaking is in order as I'm not convinced that my black butterfly suits the card. However, I love the background and love that we have another way of using embossing folders to create something a bit different. This is something you definitely should try, or try again.
And another card made using pre-stamped images. Nothing flash, but hopefully it will appeal to someone.
Tuesday, 10 March 2015
Four Feathers
You may remember last week I was saying that I had a bundle of things punched, stamped and cut out to use up. This is the end product of one of those images.
I had borrowed a friend's stamp set called Elements of Style to use when I was making my sampler frames ages ago, and this lovely bunch of flowers has been hanging around waiting to be given a little love. I've stamped a few raindrops onto the Eggplant cardstock for background and then used Labels Collection dies around the image. The happy birthday was also one previously stamped out, so two more things have been used from the collection. I'm working my way through the box.
This card was made using another borrowed set - Four Feathers. I'm still trying to decide whether I need this set for my collection. The background here has been sponged, making the heat embossed images pop out.
Thursday, 5 March 2015
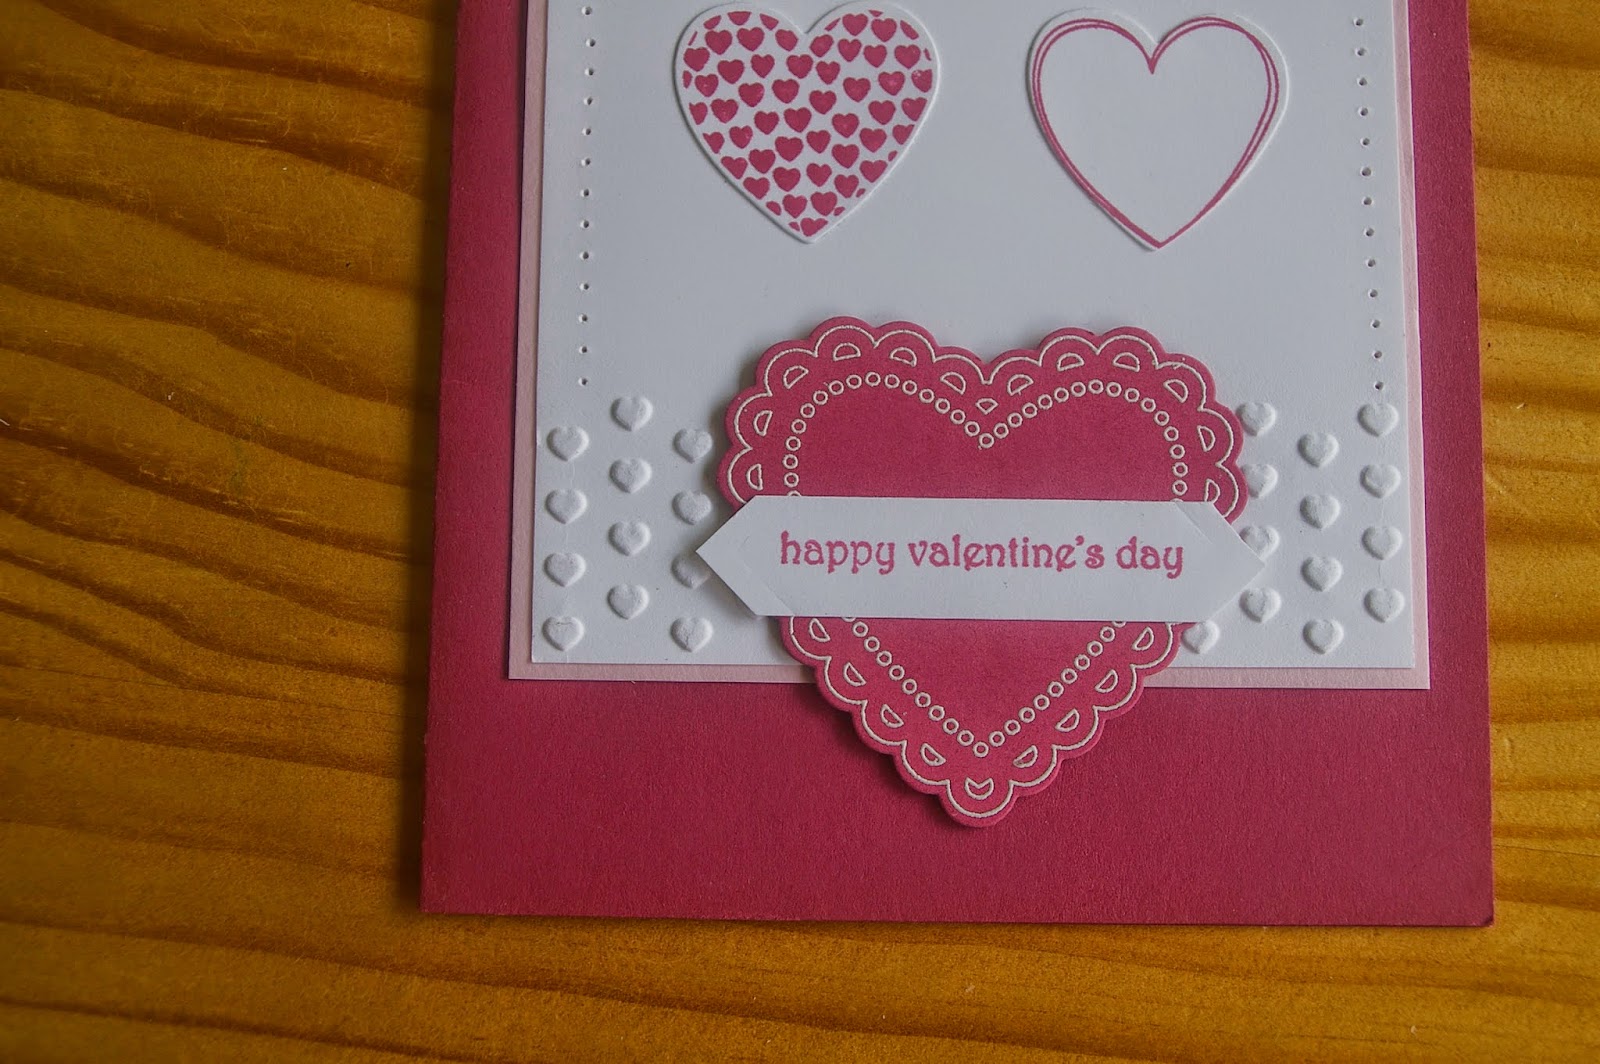
A little Valentine
No, my husband and I aren't really one of those couples that celebrate Valentine's Day. Goes back to a comment I made once when he brought me home some flowers, and I've never had any since. However there are a lot who do celebrate, so I made a few cards in the hope of selling them at work. You may have noticed that I love my Hearts A Flutter stamp set and dies.
And I know Valentine's Day was a looong time ago, but never mind.
Tuesday, 3 March 2015
A challenge for you
I don't know about you, but when I get together with my stamping buddies I generally stamp, punch or die cut their stuff because-I-love-it-so-much-I-just-want-to-use-it, but at the end of the day it usually ends up sitting in a folder never being touched. Well, I am trying to use a little of this collected stash every time I stamp, and these butterflies were actually coloured and cut out ready to go. I'm also trying different ways of setting out the card instead of just my standard coloured cardstock, black border mat and white top mat.
Well, that's 2 pieces down, with only thousands to go. So, here's my challenge for you. If you are like me with your collection, try to use at least one thing every time you make a card. Whether it's a stamped image, die cut or punch shape, work it into a card. Eventually we'll use it all up.
Thursday, 26 February 2015
Butterfly Basics
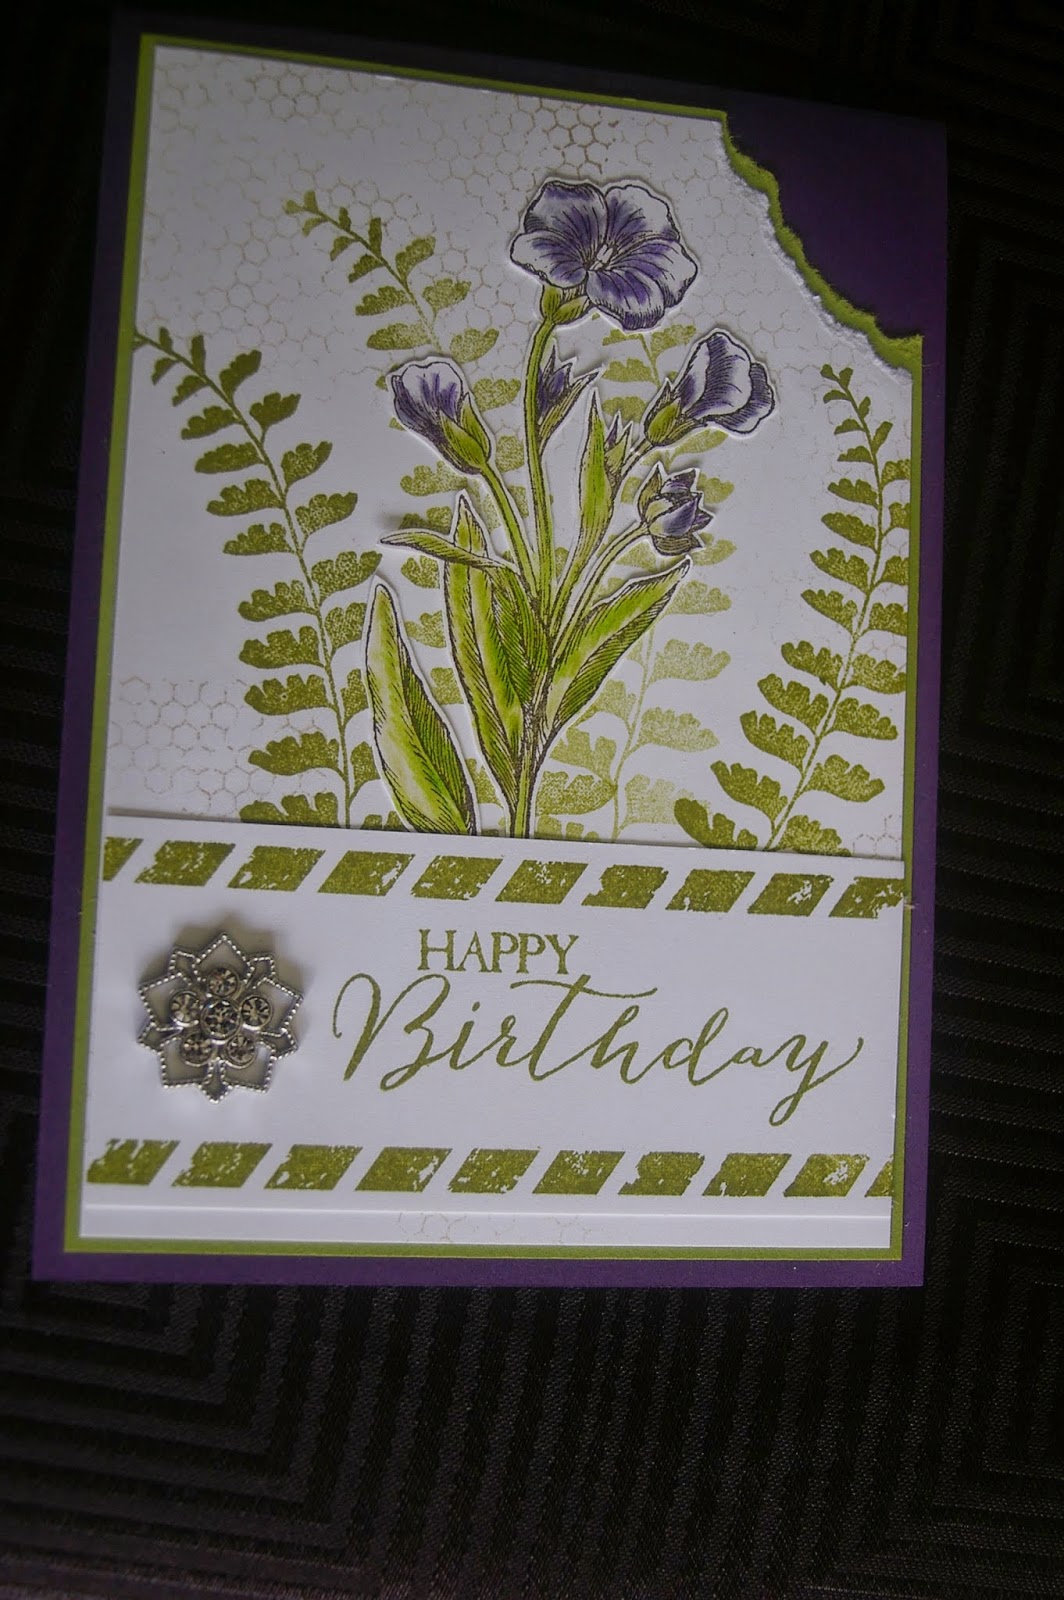
This card here is a CASE of one doing the rounds of Pinterest lately. I've told you how much I love the butterfly dies. Well, this is the stamp set that can be bought in a bundle with the dies called Butterfly Basics. There are 11 different stamps in this set, and they are all worth having. Obviously there is a butterfly, actually there are 2 different butterflies, one with a matching die and the other that works with the smallest butterfly punch. There are 3 beautiful sayings, the fern leaf, honeycomb background, flower and border edge stamped below, postage mark and another tiny flower.
For the card, the fern leaf has been stamped a couple of times and then the flower has been stamped, coloured with pencils and cut out to place over the fern leaves. A sentiment was added with a touch of bling and I think this card looks lovely. My friend made a version of this card in orange and green, and it looked just as beautiful.
Tuesday, 24 February 2015
Another birthday
February is one of the busiest months for birthdays for me, and this card was made for my niece. I'm not normally a fan of pink, but I seem to be using it a bit lately. I've used one of the beautiful butterfly dies again and placed a background behind the cut out with a bit of sponging towards the outer edges.
I found some wire lying around the cupboard for antennas, and a bit of bling, and I love it.
I love my butterfly dies.
Thursday, 19 February 2015
Happy 18th Josh
My son will celebrate his 18th birthday on Saturday and I struggled to think of what sort of card to make. I found a great idea on a website but the original card was in orange with a basketball theme. Our family is not really very sporty - Josh is into go karts, fast cars and computers, so I switched the colour scheme and kept it quite simple. Turned out pretty good, I think.
My little kids are growing up.
Tuesday, 17 February 2015
A box of butterflies
A friend at Greg's work recently celebrated her 60th birthday, and as she has been a little down lately because of her mum not being well, Greg asked for a handmade card for him to give her.
I have been wanting to have another go with a "card in a box" card, so whiled away a few hours working on this. I realised too late that the photos don't really show this up to its full potential, but this is all I have to show. The colours of the butterflies were Pink Pirouette and Melon Mambo, very girly, but toned down with the black and white cardstock and paper.
It's amazing how many butterflies you can pop in these things. I heard she liked it, so that the main thing.
Thursday, 12 February 2015
A little Lotus Blossom
This is the last card made at our class. Of course I had to include something using the Lotus Blossom - another freebie from the Sale-a-bration catalogue. This set is very popular at the moment, and once you use it, you will understand why. It's beautiful. It's a three step stamp set, which means there are three different stamps used to create the whole image. The order shown here is not the order in which you stamp. The last one is stamped first, then the middle stamp, which give the image the shadow effect, and the last stamp can be stamped in either the same colour, after stamping onto scrap paper first (2nd generation image) or using a lighter colour. So pretty. I guess you could use three different colours, but I like the two colours better.
My card is made using Elegant Eggplant for the first two stamps and then Wisteria Wonder. Will show you a few different colours next time. Have a good week.
Tuesday, 10 February 2015
Big Day Birthday
Another card we made at our day a week or so ago. The stamps are from the Sale-a-bration catalogue called Big Day. This set was on my wish list, as I thought it would be good for doing those hard to design male cards. Although I guess not many men are really into cake. Or are they?
When I made my sample card I was originally going to make it a window card with acetate, then thought of making it into a shaker card, but in the end, this is how it ended up. The colour used is Cajun Craze, which I thought suitable for a male, but when cutting for the class I realised I didn't have enough DSP for everyone, so changed it to either Tempting Turquoise or Coastal Cabana. The sentiment shows through the window, and I made a template so everything lined up perfectly for everyone.
I wasn't really happy with the sentiment on the front of the card - it just looked wrong, perhaps because it was square, so some chose no sentiment for the front, others used a punch.
And to prove it's not just a set for males, this is a slightly different version for my little sister's birthday. My daughter said I went a little overboard on the envelope - it did have quite a few 50's on it.
Thursday, 5 February 2015
And a couple more
Our second card uses the middle butterfly thinlit, but instead of cutting it out and sticking the butterfly on top of a card, this time we popped it back into the cut out hole. There is a piece of acetate behind the butterfly to keep it in place and a large pearl popped in the middle to decorate.
This was another simple card to make. Just a few circles popped out on the bottom, add a bow and done. You may have seen a card like this on your travels through Pinterest. Yes, I did copy the idea from there.
Here's another copied card using the framelits again. I think it's the pearls that make it so pretty, or perhaps the butterfly, or perhaps the shimmery cardstock used, or maybe all three together.
You really NEED to get these dies.
Tuesday, 3 February 2015
A few little butterflies
Had my first "class" for the year over the weekend and this week you will see some of the cards we made.
The first card had to be made using the Butterflies Thinlits Dies because I am quite taken with them at the moment. This was a very simple card to make and one that would suit any occasion by just changing the sentiment. The largest butterfly dies takes up most of a standard card front, so not much more is needed to finish it off.
The butterflies was run through the Big Shot to cut and then we used a sponge dauber to colour the outer edges of the butterfly. I found it easier to sponge while still leaving the outside cut off of cardstock in place - just gave it a little extra "strength" while sponging. A little bow of twine was added and then a flower made with pressed clay molds popped on top to finish. The hardest part was sticking the butterfly down, making sure no glue showed through. But on Saturday they got to use Jac paper, which is double sided sticky paper. Much easier.
My favourite was the Wisteria (last one) at first, but now I love the Indigo (first one) best. Which is your favourite?
Subscribe to:
Posts (Atom)