Tuesday, 30 July 2013

A birthday card for ??

Can you guess who this card was for?  This was for my nephew who recently had his 4th birthday.  He is currently into Buzz Lightyear and Lightning McQueen, but I didn't have anything along those lines to make for his card.  I did have some Penny Black Alphabet stamps though, and combined these with the retired Fox and Friends images for a fun and bright card.  


Did he like it?  Of course not.  He wasn't really even interested in his present - a Buzz Lightyear character outfit.  This year it was all about Lego and trucks. 

Thursday, 25 July 2013

Simply Sketched Poppy


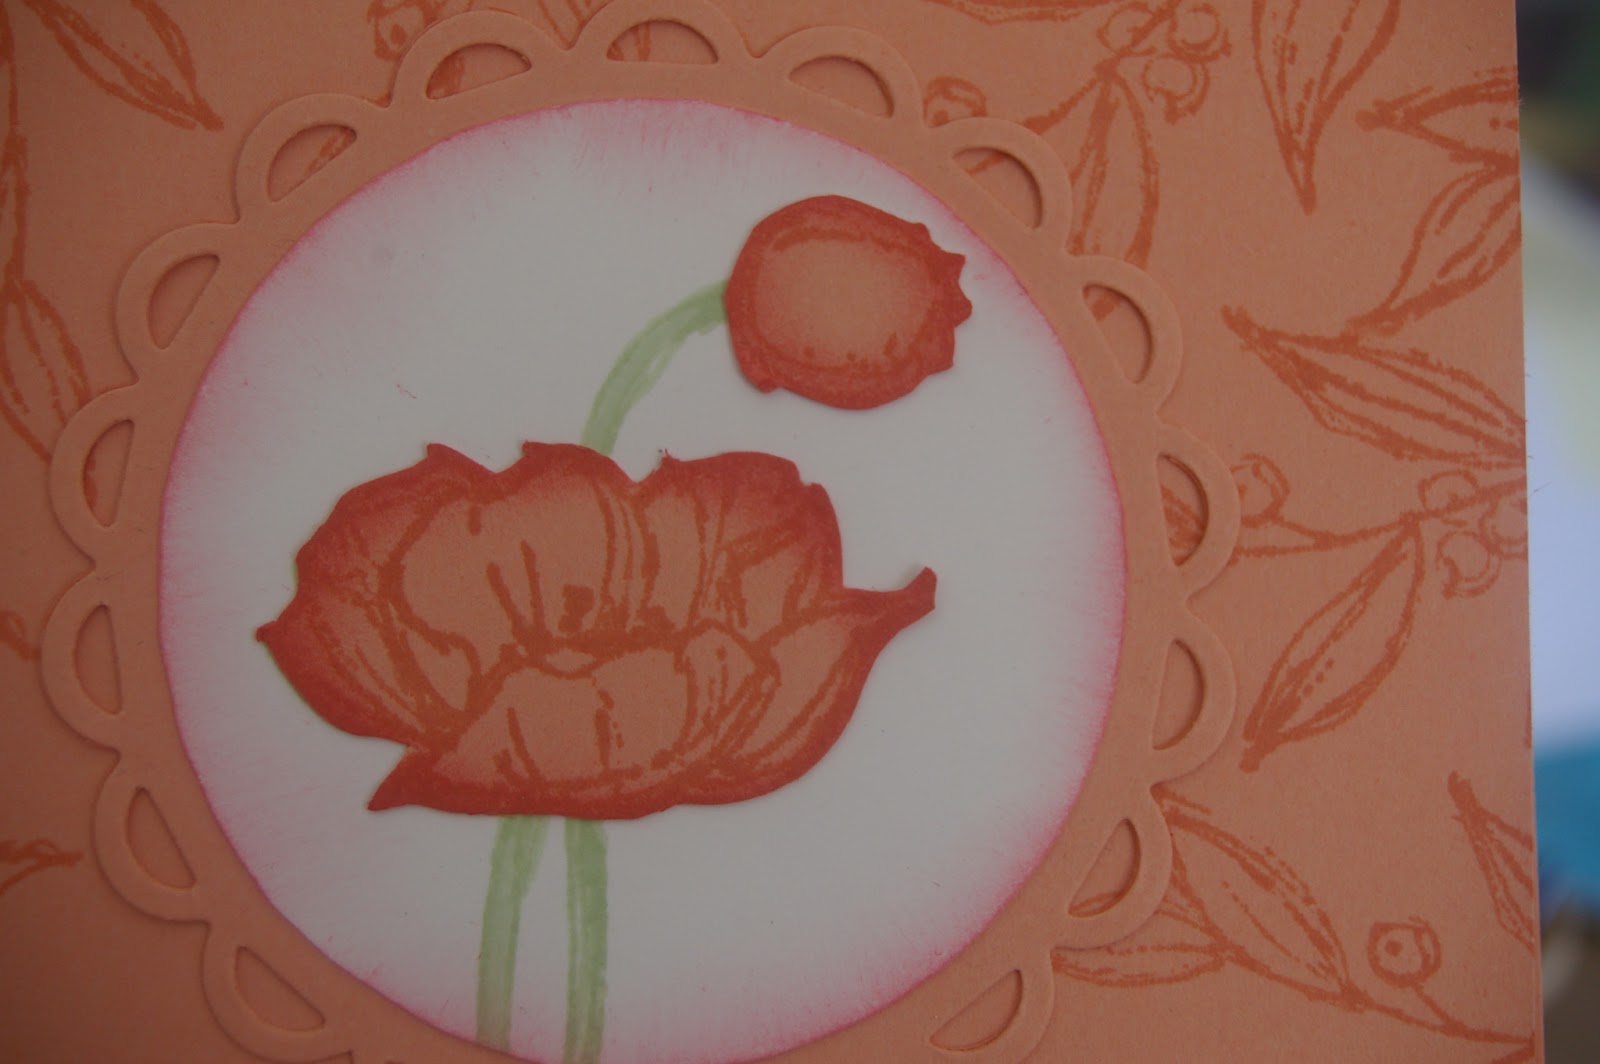
OK, back to cards.  This is the last image in the Simply Sketched set - a pretty poppy. I have used one of the new in colours on this card, Crisp Cantaloupe.  I wonder who gets to make up the names and what the criteria is.  Wonder what their job description is.  

Anyway, this card definitely did not turn out like in my head.  I like the background but not fussed on the top panel.  Originally it was enclosed in a square border, but then I changed it to a circle border. 


I have kept this one out to have another attempt at making it better.  Any suggestions?

Tuesday, 23 July 2013

SU Fabric

Someone asked me a while ago whether I had ever bought and made anything with the fabric that Stampin' Up used to sell.  My mother and 2 sisters are all quite skilled in the patchwork/sewing department, but sadly it didn't pass down too well to me and my younger sister yet.  There's still time, but I think I prefer playing with cardstock.  BUT I did "encourage" my sister to purchase some of the fabric when it was being retired off at a discount price.  

My big sister Yvonne is the queen of patchwork and is always working on about three different quilts or projects at a time, and she has been busy lately making bags using the fabric she bought.  

The first bag is big enough to carry her iPad around in.  Don't you love the little flower button?  This one is made with fabric from Summer Smooches.


And then this next one she made for her granddaughter Haylee for her school library books, and Haylee chose the colours from the Essential Designer Fabric. 


On top of the button flower you may see some faint stitching on the polka dots.  It's a little butterfly.  Cute.  The photo has actually been put in sideways - it actually flutters the right way up.   

This is another bag that Yvonne has made. Obviously not SU material, but if you look closer it has lots of little ladies on it.  And guess what - another sideways button photo.  At least I'm consistent.  


Thursday, 18 July 2013

One more Simply Sketched card to show and another simple card to make.  Maybe a little too simple, what do you think? 


The frame around the image is a Nellie's brand, oh, the opposition.  Don't tell.  Have a few layers behind the centre panel and sponged edges.  Can you tell I am a fan of sponging the edges.  It just finishes things off in my opinion.

Tuesday, 16 July 2013

Hope you all enjoyed your weekend and are well and truly into work mode by now.  Not sure that I am.  The weekends go so quickly lately.  

I have a card made with one of the new hostess sets to show today.  The set is called "Simply Sketched" and has three images, a tiny bird in grasses, a poppy and this one, plus three sentiments to chose from.  I really like the fonts in the sentiments, very elegant.  The photos were taken at different times of the day, the top one shows the true colours.  

This was a simple card to make, simply stamped in StazOn and then layered on black and white for emphasis.  The tiny berries were coloured with a blender pen and then Glossy Accents on top to shine them up. 


I really liked the way this turned out.  The image would also work really well for Christmas cards too. 

Thursday, 11 July 2013

More Madness

Have another card using the Mosiac Madness set for you today.  This one is a little brighter and I like this one too.  

Have added Daffodil Delight to this card which gives it a little more zing and added diamontes this time.  I think I should have added a sentiment, but sometimes less is more.  


Not sure if you noticed, but Tuesday's card had the images stamped on the reversed side of the embossed image and this one uses the right side - look closely and you can seen the indents are opposite. 

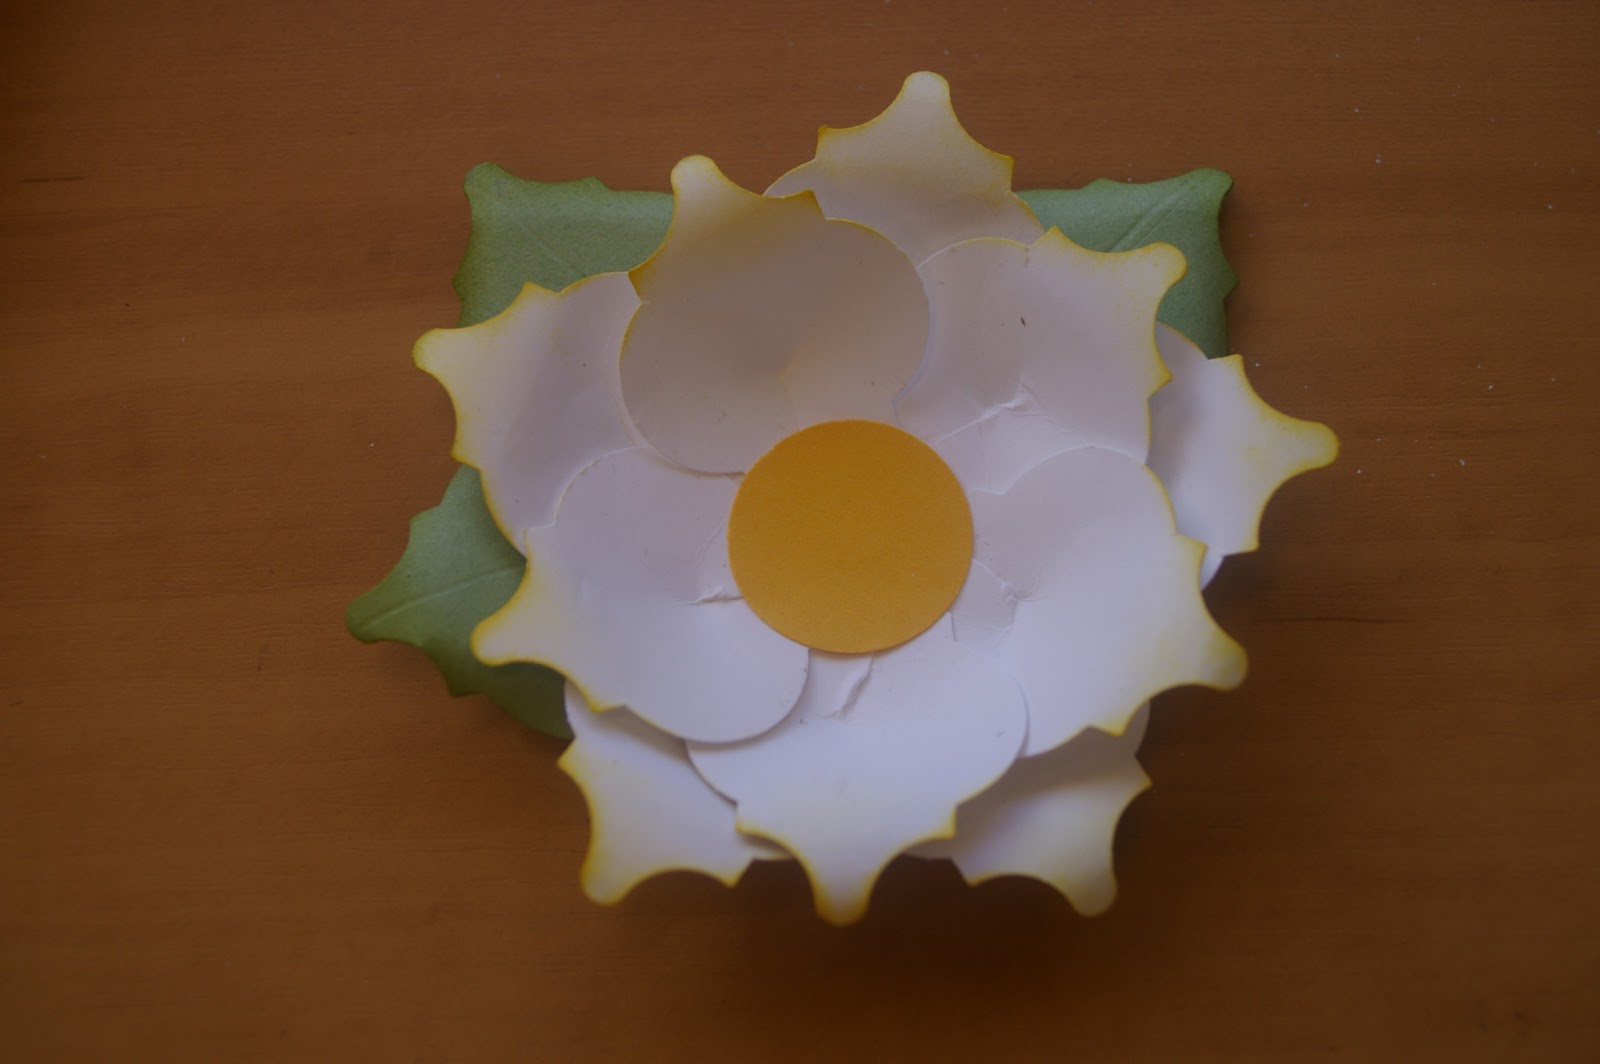
And just to prove that you can do something completely different with the punched shapes I had a go at making a few flowers that I had seen on the internet.  I think I need a little more practice, but you get the idea. 


The red one was stuck down first and then I tried to put a bit of shape into the petals later.  This was not really successful as I had glued most of the petal down, hence it looks a little flat and square shaped.  The second one I cut a into the base of the bottom and glued it over itself to put in the curve and then curled the tip before sticking together.  Also has 5 centre petals instead of 4 and looks less square shaped.  Not sure if I actually like them, but it's good to know there is another option. 

Tuesday, 9 July 2013

Mosiac Madness

I have been having fun playing around with one of the sets from the new catalogue, Mosiac Madness, and over the next few posts will have a few cards to share with you.  This set is one of the ones you can buy in a bundle and comes with the stamp set and a matching punch.  There is also an embossing folder you can purchase separately.  The stamps and punch cost $56.75 for clear mount in the bundle or $36.95 and $27.95 separately, so there is a bit of a saving.  

In this first card I have used two of the new In Colours; Strawberry Slush and Coastal Cabana which combine so well together.  The smaller strawberry images are stamped directly onto the embossed card and the cabana images were punched out and stuck on. 


Popped a pearl on in the centre of the shapes and added a sentiment.  I like this one.

Will be back on Thursday with a brighter version.   

Thursday, 4 July 2013

Milk carton die

A friend of mine lent me her milk carton die to have a play with recently and I wanted to try one of the trinket boxes that I have seen floating around the internet.  The milk carton is so small but quite cute. You need to cut out two patterns and then cut off half of one to join them together to make the box.  I'm not sure whether I cut the right bit off, but this is what it ended up looking like.


I put the $20 note in to show you the size.  Couldn't find anything else around at the time to compare size with.  Not that I have money floating around on my desk all the time.  

Next thing to try is a couple in a carrier crate.  Will post a photo after I have done it. 


Tuesday, 2 July 2013

Excuses, excuses

You would think that with a new catalogue almost out and a few new products to play with that I would have something decent to put on here.  My excuse is that I have had to work 4 days a week lately, and we went away to Canberra last weekend and I'm still catching up on washing, ironing and all the boring household jobs that need doing.  And also I really can't get anything to look any good.  My desk is a jumble of bits and pieces of stamped, punched or almost done things, but I just am lacking inspiration, time and ....?  So for a while I will just stick to 2 posts a week, and see how we go. 

I half made this card weeks ago and then put it aside to work on something else - one of my easy square cards using images from quite a few stamp sets. 


Lots of sponging going on with a shimmery butterfly in the middle. 


Wednesday, 19 June 2013

Thinking of you card


Had to make a couple of get well cards recently and thought I would try out some of the new in colours.  Coastal Cabana is going to be my new favourite colour I think.  It's a beautiful restful colour and reminds me of summery days, something that's in short supply lately.  Have combined this card with Strawberry Slush and Fabulous Florets stamp set.


Add a couple of pearls, and finished. 

Monday, 17 June 2013

Buttons and Blossoms Moulds

Didn't the weekend go fast, and now it's back to the working week.  I did make some time to play with the Buttons and Blossoms Molds coming out in the new catalogue next month.  I loved playing with Play Doh with the kids when they were little, and these new moulds remind me past times.  The kit comes with 2 separate moulds; one with three different sized buttons and the other three different sized flowers.  They are very easy to use and the hardest part is waiting for them to dry.  I read somewhere that popping the moulds into the freezer with the plaster for about 15 minutes helps set the pieces so they are easier to pop out, and this really does work.  The second time I did it I just left them to dry in the mould overnight and when they came out they were not as smooth as the first lot.  


The next lot I make I will ink the plaster to colour before drying and maybe some of these will be painted, but for now I like the crisp white. 


Friday, 14 June 2013

A few little tags

Our courier delived a large and very heavy parcel here during the week full of lots of goodies including new catalogues and a few pre-order products.  Took me over an hour to go through the new catalogue from start to finish on Tuesday night.  Lots of new stamp sets, papers and accessories.  And we finally have circle framelits.  That will have to be one of my first purchases.  I debated about getting the new in colour ink pads and cardstock, but after seeing them in real life I really like 3 of them, the other 2 not too sure about yet.  But I love the names; Strawberry Slush, Coastal Cabana, Pistachio Pudding, Crisp Cantaloupe and Baked Brown Sugar.  Wonder who comes up with them?

Work has been encroaching on my playing time this week, so I don't have anything worth photographing yet, but this is a picture of a bundle of tags I did recently for one of my sisters.  Guess what her favourite colours are?


Wednesday, 12 June 2013

A few of my favourite things that will be retired off

I supposed you've all had a chance to check out the list of products that won't be returning in the new catalogue.  There are a few things that I will miss seeing again and I thought I would share some with you. 

  1. French Foliage stamp set was and is one of my favourites.  It's a great stamp set to use for men, but works well for sympathy cards and the french script, raindrops and postmark work well in vintage type cards too.  Actually I don't think I will ever part with this one.  If you have thought about getting this set but never gotten around to it, it is currently selling off at $20.96 instead of $27.95 until the end of the month or sold out.  
  2. I have loved all the 2011-2013 In Colours and am so happy that they will now be incorporated into our new colour families, except for Lucky Limeade.  Limeade is a lovely brighter shade of Old Olive and it always co-ordinates well with other colours, so will miss it not being around.  Will also miss Pretty in Pink and More Mustard, especially as I only recently bought my mustard ink and cardstock. 
  3. For some bizarre reason they are also retiring off Shimmer Paint.  I have used my Champagne Mist Shimmer on quite a lot of projects to add that touch of glitter and glamour.  Have stocked up on this one.  
  4. Also have had my eye on a Colour Spritzer for a while now.  Wonder what they will bring in to replace this for that splash of colour.  
  5. And they are retiring off the Vintage Wallpaper Embossing Folder.  Why?  It's one of my favourites too and hasn't been around that long.  
The only good thing about losing all of these and more is that there are so many great things in the new catalogue to choose from you will have trouble deciding what to get first.  Happy drooling!

Monday, 10 June 2013

SU Promotions


Stampin' Up have a few promotions going at the moment, as well as their list of retiring stock.  Currently they are selling single stamps until 31st August or until sold out after a trial in Northern America proved popular.   The images are a little hard to see in the blurb below but if you click  here  you can see the enlarged version.   Stamps vary from $9.95 to $13.95. 
Single Stamps
Best of flowers

The other promotion is the "Best of 25 Years" deal where stamps that have been popular in previous years catalogues will be grouped together for sale.  Each month there will be a new set brought out but they will all be available until April 2014 unless sold out.  The theme for the month of June is "Best of Flowers" set and to get an enlarged view of the set you can click here   The images are different sizes to the previously offered stamps.


Saturday, 8 June 2013

Swing flip flop card

Apparently that's the correct name for this type of card.  This is the final one of these to share with you.  It also shows one of the latest trends, the Chalkboard Technique.  This is where you ink up your stamp on black cardstock with VersaMark and then emboss using white embossing powder.  After it's been heated and set, you then smudge with  sponge or whatever using a white ink pad to create the chalk like smudges on a blackboard.  Some areas are then sponged over with colour if you like.  Not sure I really like the effect, but you have to try it once. 


You may notice the background has been stamped with some of the images from French Foliage stamp set.  Even though this set will retire soon I have no intention of letting this one go.

Wednesday, 5 June 2013

Framelits cards

These are 3 of the cards my group did a few weeks ago.  I let them choose whichever design and colour scheme they liked and I love how different the same thing can turn out.  (It made sense in my head)  And did you notice on my card I had cut the wrong way.  No-one has mentioned it yet, but anyway these are cut the right way with the solid panel on the front and the cut panel inside. 


Sadly I forgot to photograph the other cards. 

Don't forget to check out the list of retiring stamps and accessories from Stampin' Up.  Bordering on Romance is one of the retiring sets too, so if you have been thinking that maybe you might like this set after all, you had better do something about it soon while it's still available.  
 

Monday, 3 June 2013

Calypso Coral Cut Outs

This is the final card made last Saturday.  The ladies could choose either design and any colour they liked.  Both cards use the stamp set Bordering on Romance, a set I have always liked and wanted.  My friend lent me her set, but for some reason I found it difficult to colour the images.  This first card was coloured using blender pen and inks, and the second card using coloured pencils, which for me was much easier.  Not sure why. 


If you are interested in Stampin' Up products their new catalogue will be out next month, so their retired product list is now out.  Make sure there is nothing you need to get before they go, and you may also grab a bargain as some products are up to 40% off.  

Friday, 31 May 2013

Butterflies and Doilies

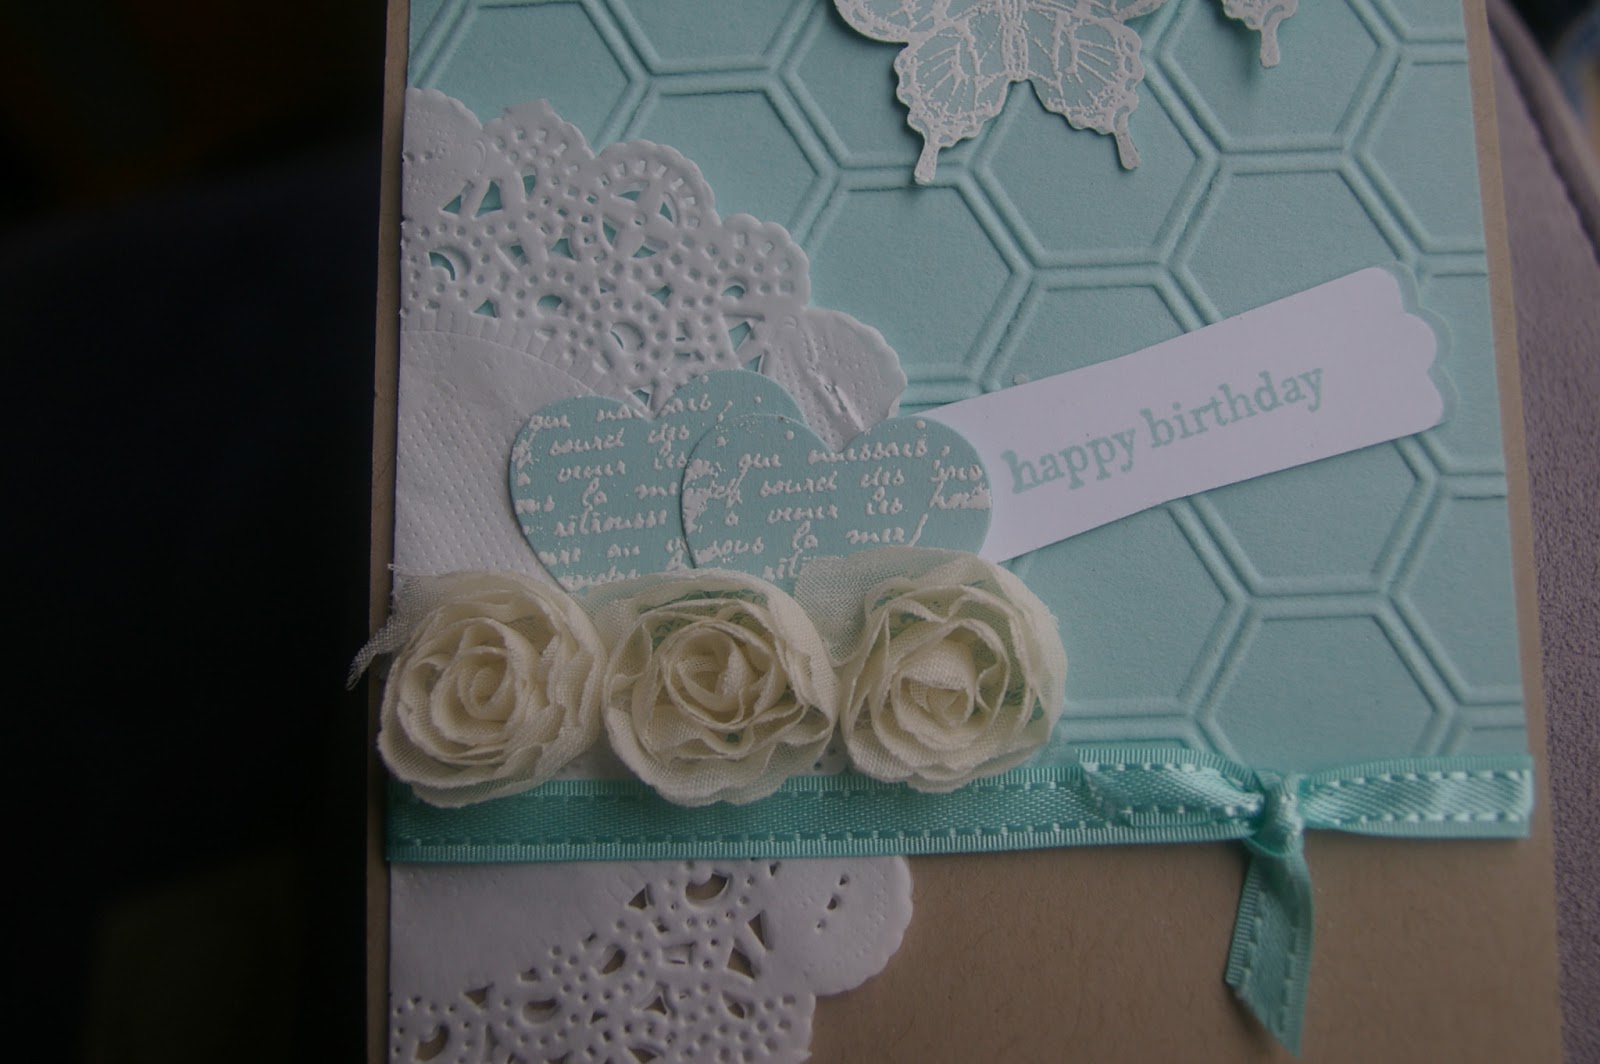
This one is my favourite from Saturday.  It's a very feminine and elegant card using one of the new doilies.  Took me a while to pull this one together, but I think it works.  


Most of the supplies are from the Seasonal Catalogue including embossing folder, doily and flower trim.  The butterflies and hearts are inked with Whisper White and white embossing powder and the tag coordinates with the Pool Party cardstock. 


Wednesday, 29 May 2013

Faux Embossing Technique

I can't really remember the correct name for this technique, but I think it's called Faux Embossing.  Now I don't like the layout of the card for this one, but I love the effect with the stamps.  The important bit was the stamping, the rest, nah!


First of all you stamp an image in Whisper White ink and then let it dry.  You can hurry up the process with a heat gun if you like, but it must be dry before the next bit.  Then you use a stamp positioner to stamp again in a different colour ink, in this case Crumb Cake, but instead of stamping directly on the previous image you move it slightly off.  This gives it the shadow effect which really looks good.  
 

Monday, 27 May 2013

I'm back

Sorry for disappearing for a while, but I really didn't have anything much to share with you and was a little busy doing stuff for a recent class. 

One of the cards made on Saturday was a Spinner Card.  You may recall I have done a few of these in the past, but one of the ladies was interested in having a go at making her own so we did.  

My IT people are at work so this will have to be a still photo.  You will just have to imagine the pinwheel spinning up and down the slot on the card. 


These cards are quite easy to make and apart from supplies they cost 10c, cause you need two 5c coins on the back of the object to make it spin.  The slot was punched out with the word window punch - I can see it's a bit crooked.  Oops!