Friday, 2 November 2012

A fill in

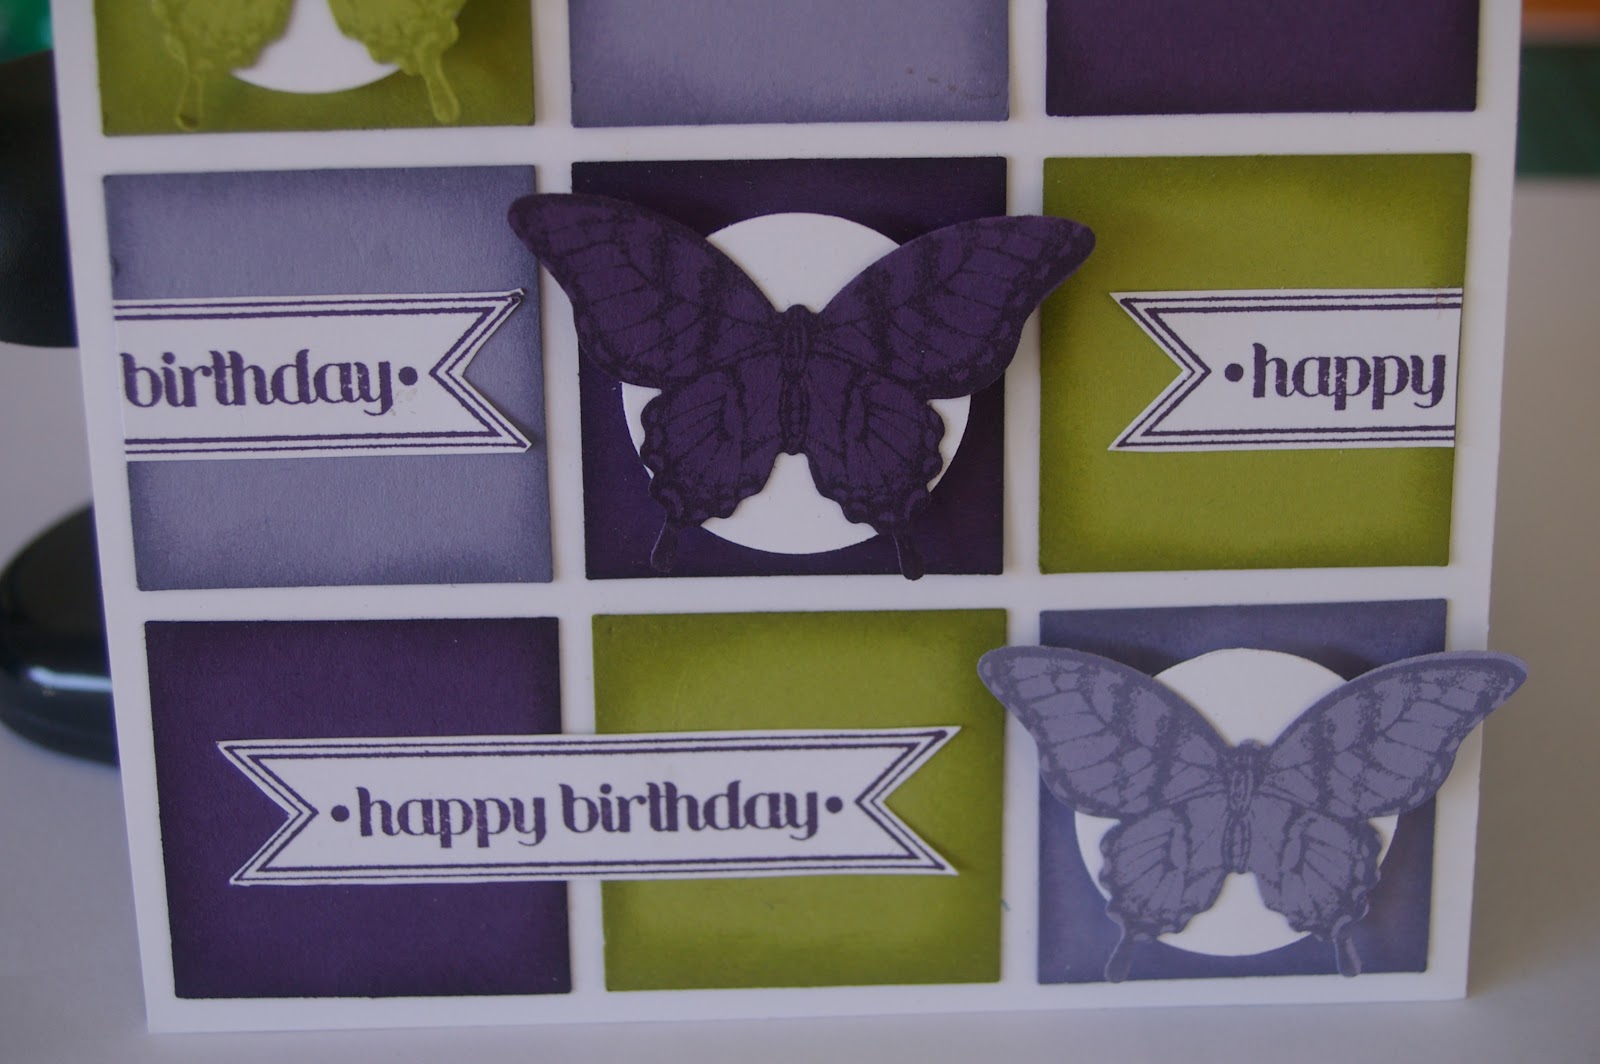
Sorry, this is a just one of those cards lying around, nothing special, but I don't have anything else at the moment.  

I was just playing with the Fox and Friends set and this card invented itself.  


By the time this is posted my family and I should all be lazing by a pool enjoying a long weekend away.  Enjoy yours!  

Wednesday, 31 October 2012

Another female birthday


While I was making my sister's I made this one too for a friend of mine.  I am quite a fan of the 2011-2013 In Colours and will really miss them next year when they are retired off.  They all just go together beautifully.  

Another diagonal pattern with the scoring tool, paper piercing and a spray of shimmer on the centre image this time.  Pretty!  

Wonder if I have pursuaded anyone they need to buy this set yet?


Monday, 29 October 2012

Female Birthday

This is one of my sister's birthday cards.  I actually started  orking on her card ages ago but just couldn't get it "right".  My sister is a very clever and talented patchworker and makes amazing quilts so I wanted to make her a patchwork card.  First I used the square punch and then cut the shapes on the diagonal to make triangles, but my cuts had to be perfect to make it look good, and they weren't perfect and it didn't look good.  This is a photo of the first attempt.  


See, nice from a distance, but up close the spacing isn't that good.  I could and should have not put any space between the squares, but anyway that one was scrapped.  
 
Next I tried using the Petite Pennant punch which obviously is a triangle shape.  I really liked this one, but couldn't find the right image/embellishment to put on the front of the card.  Used a Label Framelits but the triangles and curves didn't look right together.  Tried all five variations of in colours to see if that worked better, but still not right.  Sorry, no photo.

Third attempt and I was running out of time now so this is what I went with.  


Yes it's that set again.  Used the scoring tool again, this time making the lines diagonal and then using the reverse side facing up.  Paper pierced around the centre image, stuck on some ribbon, sentiment and added some bling.  Nice but not great.  And I ended up sending the second card too just to show her.   

Friday, 26 October 2012

Falling leaves

While I had French Foliage out on the desk I had a go at this card.  It is a direct copy of a card I found on the internet somewhere.  Not sure who it belongs to now, but if it's yours, thank you - I liked it so much I copied you.  


Now I probably did it the hard way by making up a template with a square cut out of the middle, but I guess you could just mask off the outside areas with post it notes.  You could also just lay the ink pad down in the middle of the cardstock, but this won't give a very thorough coverage (maybe the new ink pads will work better), so I dragged the ink pad along a couple of times, dug it into the corners and then sponged over the lighter parts.  The leaves were stamped on with Black StazOn and the water droplets were inked with Lucky Limeade, the same as the centre colour.  Matted on black and and then onto Limeade cardstock.  I liked it so much I made a few more for the males in my family.

Wednesday, 24 October 2012

A triangle square

I saw something like this on the internet and it appealed to my sense of squares.  


I pulled out French Foliage for this card and randomly stamped (have I mentioned before there is no such thing as randomly stamped images - we always stamp where we think it will look best!) on a square of white cardstock.   As I am not good at cutting straight at the best of times I have used Nestabilities to cut out the squares, and then the white square was cut on the diagonal to make four triangles.  Add some string wrapped around and a sentiment and it's done. 

Happy birthday to my big sister in Queensland.  Hope it's a good day.  

Monday, 22 October 2012

Female birthday card

I find it very hard to make cards for my friends who also stamp as you want to make something different and clever for them.  I spent hours on lots of different ideas, even though it doesn't look like it.  I know it isn't different or clever, but I just ran out of time so had to go with bling to jazz it up.  


I have used Serene Silhouettes again, with a bit of scoring on the sides, ribbon, diamontes and a sparkly ribbon slide that I found in the cupboard. It amazing what you find when you look. 

Happy birthday Kylie. 


Friday, 19 October 2012

Male birthday

Yes, I've used Serene Silhouettes again!  I told you it was one of my current favourites.  

This technique is called masking and there are some really clever women out there in internet world who do this sort of thing with a brayer to make a graduated sky colour, but for those of us without a brayer we have to make do with sponges and daubers.  


I have stamped the tree in black Staz On ink on white cardstock and then using the sticky part of a post it note punched out a circle and stuck it down in a moon-like location.  With a dauber I have tried to gradually build up the colour around the circle.  Once the sticky note is removed you hopefully have a crisp white moon looking back at you.  Just needs a few bats flying across the sky. 

Wednesday, 17 October 2012

A thank you card

Again, this isn't one of the greatest cards ever made, but I am just playing with ideas at the moment.  I recently saw a Halloween card with what looked like a strip torn out of the centre of the card with the characters from Googly Ghouls in the Holiday Catalogue peeking out, and wanted to try the effect.  Characters or animals would look better peeking through, but this set was on the desk so that's what got used. 


Monday, 15 October 2012

A different Silhouette

Well, I went to the Craft Sale on the weekend organised by a group of Stampin' Up demonstrators (not my group).  Each year they have a big clean out and sell of their retired stamp sets, cardstock, punches and accessories.  There were some great buys and I was able to find the two retired sets I have wanted for a while; Pocket Silhouettes and Fox and Friends as well as a tab punch that I thought would come in handy.  I also managed to pick up a few re-inkers for ink pads and a punch my M-I-L was after, but after I got home I kept on thinking I should have bought this and that. I blame this on my father.  He always taught us to be careful with our money and not waste it, but I really missed out on some good buys like ribbon, cardstock and patterned papers.  So next year my mantra will be, if you can use it, get it.  Sorry Dad.   

Anyway back to stamping.  As I said, I finally have Pocket Silhouettes so had a little play on Sunday.  

Simple things first, like squares.  


Fairly plain and simple and not one of the greatest.  Have used Calypso Coral, Soft Suede and Lucky Limeade on the squares with a bit of the Sale-a-bration ribbon (that I also bought) wrapped around the card.  

While I was playing my daughter decided to clean out the glasses cupboard cause there was something sticky on the bottom, and 6 hours later she had cleaned out a few other cupboards, replaced the paper liner, cleaned the old paper off the top of the cupboards, cleaned off the greasy gunk and replaced the paper, cleaned the glass splashback and also under the cupboards above the bench.  Somehow Greg got involved too (he says he only came to the kitchen to get a glass of water), and now the fridge has been pulled out and cleaned behind and on top.  I was planning on making some banana bread, but couldn't get in the kitchen.  But I am not complaining.  


Friday, 12 October 2012

50th Wedding Anniversary

Imaging being married to the same person for 50 years.  Bit hard to comprehend, isn't it.  But tomorrow is my in-laws 50th wedding anniversary.  Over the years they have accumulated an expanding house, three children, two sons-in-law, one daughter-in-law and 7 grandchildren.  Oh, and 3 dog-in-laws.  Happy anniversary to you both. 


 Another workout for the Simply Scored. 
 

Wednesday, 10 October 2012

Craft Sale

If you are planning on going to the big craft sale this weekend (Saturday 13th October), don't forget the change of address.  

It will now be held in the Kings Langley Scout Hall on James Cook Drive, Kings Langley, near the shopping centre.  Starts at 9.00 till 12.00.  

This one is worth going to!  See you there.  


Sympathy card

Thanks for popping in.  Last week I had to make a sympathy card, fortunately I don't have to do this very often.  You want the card to look simple but like you put a bit of effort into it, and then not too colourful, but nothing dull either.  Hopefully I managed that with this card. 


Seems strange to dissect a sympathy card, but I chose Wisteria Wonder for its soft elegance and then Serene Silhouettes, my current favourite stamp set.  I don't have the diagonal plate for my Simply Scored Scoring Tool, but have worked out a way I can score so it comes out diagonally and have used this on the background white.  I then used the Paper Piercing Pack and cut out the shape by hand (or by cutter) to get the shape for the image in the centre.  The dandelion (?) flowers have then been blinged with KindyGlitz.  I was happy with the finished result. 
 

Monday, 8 October 2012

Simply Scored Scoring Tool

When I first heard about the Simply Scored Scoring Tool I decided that it was one of those things I didn't need to buy.  I had a scoring blade on my cutter and that was all I needed.  But then after trying to make the Double Gate Fold card shown a couple of posts earlier I realised that my folds needed to be 100% perfectly in the right spot for it all to line up.  And I really wanted to demonstrate that card in my Saturday group and for us all to make it.  So it became a necessity.  And I am happy that I bought it.  Apart from the gate fold cards it has been having a work out lately.  

I was just playing around the other day and this card eventuated.  The lines are scored every every half inch in both directions.  Originally I was trying for brick work or wall panels, but just ended up going with squares (and even then I stuffed up - can you see where I went wrong?).  This is another image from Serene Silhouettes just inked in Black Stazon and then the background has been sponged a little.  I then put a black border around it like a window frame to highlight.  


Needs a little blinging up, perhaps a bow or some pearls or diamontes. 

Friday, 5 October 2012

Another silhouette

I really love this set and am so glad I bought it.  The card I have made today is so simple, but pretty.  You could make this card quite quickly too.  


I have stamped this using Regal Rose and Pretty In Pink for the flowers and Lucky Limeade and Old Olive for the stems and then just used a black pen for the outline.  And done.  All in a single layer. 

Wednesday, 3 October 2012

Bargain priced ribbon

Dates: 1-31 October 2012 

Promotion Details: At Stampin' Up!, it's spool time! For the month of October, get a FREE package of 3/8" (1 cm) Stitched Satin Ribbon-a $15.95 value-for every $60 you spend!
Choose from the following ribbons:

Item
Description
Retail Value
126848 Ribbon Gumball Green 3/8" (1 cm) Stitched Satin $15.95
126847 Midnight Muse 3/8" (1 cm) Stitched Satin Ribbon $15.95
126844 Primrose Petals 3/8" (1 cm) Stitched Satin Ribbon $15.95
126845 Raspberry Ripple 3/8" (1 cm) Stitched Satin Ribbon $15.95
126846 Summer Starfruit 3/8" (1 cm) Stitched Satin Ribbon $15.95

This is a good time to grab some of the new satin ribbon in the new in colours.  Please contact me if you are interested.


Monday, 1 October 2012

Papillon Butterfly

And finally this is the last card from our day last Saturday.  We used the new Elegant Butterfly punch and the Papillon Potpourri stamp set.  I had made up the two colour options below but then said they could choose whatever colours I had to make their card.  Some chose to do the same colours, others came up with their own colours and some also decided to leave the sentiment off.  

Mine:


And theirs:


Friday, 28 September 2012

Zig Zag male card

This was the easier option of card to make on Saturday.  I have used the new Chevron embossing folder but before embossing the folder has been swiped with an ink pad, so that when put through the Big Shot it inks up the colour into the unraised sections.  The technique is a little random so you can never really be sure whether you will get a good coverage of ink.  Guess that's part of the charm of this idea.  The stamp is from Serene Silhouettes and has just been inked in Staz On with the edges of the black done using the paper piercer also.  A lot easier than the previous card but still good. 


Wednesday, 26 September 2012

Another Framelits card

You can tell I love my framelit dies by the number of times I use them.  This is another card from Saturday.  People had a choice of this card, which was a little more involved, and the next one I will post.  Even now I think this one needs something more, but I ran out of ideas and time.  


The image is from one of the new stamp sets that I absolutely had to have.  The set is called Serene Silhouettes and has four stamps, this one, Friday's design,  a solid circle with a branch of flowers and a butterfly, and lastly a set of three trees, all obviously in silhouette.   

The stamp was coloured in with markers first and then cut out with the framelits.  A piece of Cherry Cobbler was also cut out with the next biggest  framelit and we used the new Paper Piercing Pack around the edge.  You can't see very well in the photos but there is a tiny line of pinholes all around the edges of the red framelit shape.  Next we used the Edgelits Dies on the white with the Adorning Accents Embossing Folder.  And finally the Stripes Embossing folder for the final piece of Cherry Cobber.  

One of the ladies changed the design slightly and hers is below.  I think that maybe that's what was needed - a sentiment of some sort and the white backed with Cherry Cobbler.  


Monday, 24 September 2012

Apothecary Double Fold Gate Card

We had a great time at our card class on Saturday, and this is one of the cards we made.  I had seen this card on the internet and wanted to try it, but of course when I went looking for it again it took ages to find.  Note to self:  Next time you see something you like, add it to your bookmarks!  

This card is one of those clever folds called a Double Fold Gate Card.  Pretty self explanatory really.  I have used the 2012-2013 In Colour DSP in Calypso Coral.


To make you need a sheet of DSP 12 x 5 1/2 inch.  Score at 2, 4, 8 and 10 inches and then mark on both sides at 2 3/4 inches.  Cut from this mark to top of 4 and 8 inch and then the triangle that you cut from the top is turned over and glued to the opposite corner.  You do need to be pretty accurate with your cutting points so that it all lines up.  The insert is 5 x 3 1/2 inches for the backing mask and 4 3/4 x 3 1/4 for the white.  Stamp and colour one of the images from Apothecary Art set and cut with the framelits and this is stuck down on one side only between the points.

And the inside ..  


On Saturday they were able to choose whichever colour they liked; Calypso Coral, Indigo Island, Wisteria Wonder, Lucky Limeade or Pool Party, and these are the final results.  The Limeade version was for someone who did not attend but will complete it later.  Which do you prefer?


Wednesday, 19 September 2012

A set of cards

Apologies for all the old and retired products used on these cards.  I promise there will be some new things soon.  

Actually, this set is still current.  Delicate Doilies has a set of four stamps all designed to look a little like lace doilies that your grandmother used to have.  The card was part of a set of 10cm cards I made a while ago to give away as a gift.  

Can you see where I stuffed up on the flower card?  I managed to get a little bit of ink on the side of the stamp which ruined the whole thing.    Isn't it the way that when you do stuff up it's usually about the last thing you had to do.  


 I thought I had more in the set, but can't find the others.  Mustn't have photographed them.